How to Make Bird Seed Ornaments
Share
DIY Birdseed ornaments are easy, fun, and a great way to get younger children involved in DIY creative ideas. Whether you're looking for quick and easy Christmas presents or simple party favors, birdseed ornaments make for a great gift giving option—and they're gorgeous, too.
We'll cover some of the basics of crafting birdseed ornaments of your own, including what supplies you'll need. So, let's get started!
Before You Start
Making DIY birdseed ornaments is easy enough, but it's important to remember that there are several different options for your ingredient choices. Here's a quick guide to give you a good idea of what ingredients you can substitute for, seeing if you can make these ornaments with things you've got at home already.
Related: 10 Great DIY Bird Feeder Ideas for Kids
Flour
Starting with the flour, you can use just about any brand or type you prefer for your birdseed ornaments. For example, you might opt for organic, all-purpose, or whole-wheat. Thankfully, you can use whatever you've got in the pantry for your flour or flour substitute.
Corn Syrup
When it comes to corn syrup, you can also use just about anything you've got in the pantry for your ornaments. And if you don't have corn syrup readily available, you might opt for other options like cane syrup, honey, or agave nectar. Another great substitute for corn syrup is maple syrup.
Gelatin
For gelatin, you'll need to opt for unflavored, like Knox, that you can purchase from the store. While this might not be the colorful gelatin your kids are used to, it's what will ultimately be the best for the birdseed ornament crafts.
Birdseed Mixture
Feel free to use a birdseed mixture you've picked up from the store, or create a unique blend of your own. You can do a little research to find out what kind of birdseed local birds prefer. Some popular options include:
- Dried fruit
- Cracked corn
- Sunflower hearts
- Peanut chips
- Millet
- Sunflower seeds
- General mixed seed
Whatever mixture you decide on for your ornaments, make sure it measures out to be four cups, as the recipe calls for, or it might not fill the cookie cutter correctly and break apart.
Related: How to Choose the Best Bird Feeder Types for Your Yard or Garden
Cookie Cutter
Choosing a cookie cutter for your birdseed ornaments is the most fun part. These little backyard treats make great party favors, perfect for any time of year if you choose your cookie cutters accordingly.
Make sure whatever cookie cutters you decide on are one inch thick and don't have too much intricate detail. Shapes that are chunkier tend to be better. Thankfully, you can use metal or plastic cookie cutters for these birdseed ornaments.
Skewer for Making a Hole
You'll need some skewer or similar object to poke a hole through the birdseed ornaments so they can be hung. If you don't have a skewer, some other materials you could use may be:
- Pencil
- Chopstick
- Awl
- Screwdriver
- Plastic straw
- Ballpoint pen
- Lollipop stick
String for Hanging
You'll need a string to hang your ornaments, so make sure to have it pre-cut before starting your project. Some of the best materials for your ornaments are:
- Raffia
- Ribbon
- Yarn
- Twine
- String
The one material you should steer clear of is fishing line because it can harm the birds. Keep in mind that once the birds consume the ornaments, they can use the twine, or string of your choosing, for nesting material.
Supplies Needed

Now that you've got a good idea of some quick and easy substitutions let's get down to the basics of what supplies you'll need for your birdseed ornaments.
- Twine
- Wax paper or parchment paper
- Nonstick cooking spray or coconut oil
- Baking sheet
- 4 cups bird seed mixture
- 2 1/2 teaspoons unflavored gelatin
- 3 tablespoons corn syrup
- 3/4 cup flour
- 1/2 boiling water
- Wire cooling rack
- Skewer
- Nonstick saucepan
- Medium cookie cutters
- Medium mixing bowl
- Small spoon for mixing
Instructions for DIY Birdseed Ornaments
Once you've gathered all of your materials, it's time to get started making your birdseed ornaments. Grab the kids, have your recipe handy; it's time to create birdseed ornament gifts.
Step 1: Prep the Cookie Cutters
While it might add to your prep time, it will be quick to spray the cookie cutters with nonstick cooking spray. This simple step will ensure that the ornaments quickly released from the molds without losing shape. Using your baking sheet, place wax or parchment paper. Place the cookie cutters on the wax or parchment paper and spray every crevice.
Step 2: Boiling Water and the Liquid Ingredients
Put your cold water in your saucepan. Make boiling water, slowly add in the corn syrup option, and bring that to a boil. Reduce the heat to low.
Next, you'll add in gelatin, stirring regularly to prevent any clumps. Don't forget to use unflavored gelatin safe for birds. You'll create a syrupy gelatin mixture that will be used to keep the ornaments held together. Once your mixture is completely dissolved, take it off the heat to prevent it from boiling down the liquid too far.
Step 3: Add In the Flour
Move your mixture from the saucepan into your mixing bowl. Stir in flour until it is blended well. The consistency of this new mixture should be thicker, like cake batter.
If you find your mixture is too thick, you can stir in 1 tablespoon of hot water at a time to make it thinner. If your mixture is too thin, you can stir in flour, one tablespoon at a time, until the right consistency has been found.
Step 4: Mix In the Birdseed
You can't make birdseed ornaments without the birdseed. Next, you'll stir birdseed into your flour batter and mix it well. This mixture will be very stiff, but this consistency is important to keep your ornaments in their desired shape.
You can spray your spoon or spatula used for the mixture with cooking spray to help prevent too much buildup during the process.
Step 5: Fill Up the Cookie Cutters
Using the nonstick spray or coconut oil, cover your hands. Then, scoop out your birdseed mixture and gently push it to fill the cookie cutter on your baking sheet. Be sure to press it in tightly into all the nooks and crannies of each cookie cutter, making it as firm as possible.
Filling the cookie cutters is a significant step to get the kids to help out. Since you'll have to move quickly, having the extra hands can help figure out how many ornaments you'll be able to make in a short amount of time.
If you don't have extra help, you can store your mixture in an airtight container while you fill up each cookie cutter.
Step 6: What to Do With the Extras
How many ornaments does this recipe make? Well, that depends on your cookie cutters. If you find that you've got extra after you fill your cookie cutter, you can have the kids roll them into little balls.
These balls of seed are great for birds. Place them on the ground, on a platform feeder, or even in a suet cage to prevent them from taking a fall. You can even stick them in other branches in trees in your backyard.
Step 7: Make Holes
While the mixture is not entirely hardened, use your stick to make holes for hanging. Use the skewer to stab through the mold. To make sure you have a sturdy location, make certain the hole is one inch away from any edges.
Step 8: Let the Bird Feeder Ornaments Dry
After your holes are complete, you need to let your birdseed ornaments dry out. While you don't need to wait a few days, you should try to wait at least 6 to 8 hours. If you can increase air circulation with a fan, that will help to speed up the process.
Step 9: String the Ornaments
Lastly, once your bird feeder ornaments have entirely dried, it's time to remove them from the cookie cutters. Loop your twine through the hole and tie a knot to secure it. If your ribbon hole is too narrow and you're having difficulty pushing the string through, you can try using a wide-eyed tapestry needle to help you.
Where to Buy Birdseed Ornaments
Don't worry. If you decide you can't make birdseed ornaments, or they aren't for you, you can still buy bird feeders to to keep your backyard birds well-fed and happy.
DIY birdseed ornaments come in all shapes and sizes and can be made using varying materials. Because there are so many options out there, finding exactly what you are looking for isn't always the simplest task when you start shopping around. Here are a few ideas on where to buy homemade birdseed ornaments to help you keep the birds of your yard happy as can be.
Swap Meets
Check out your local swap meets to see what type of crafty DIY birdseed ornaments you can find, if any. It's worth going into this shopping experience with an open mind since you're not guaranteed to find what you are looking for when shopping at swap meets. Even if you can't find any birdseed ornaments, you might be able to pick up some exciting materials to craft one of your own from something you find here.
Facebook Marketplace
You can also look at Facebook Marketplace to see if you can find any easy DIY birdseed ornaments here. This online marketplace is a great way to see if anyone in your area is selling their creative ideas online. The good news is, crafting a birdseed ornament is relatively inexpensive, so you can likely find these easy crafts on Facebook Marketplace for cheap.
Happy Gardens Store
But, if you're having a hard time finding homemade birdseed ornaments, you might want to consider other types of feeders instead. For those gardeners who aren't willing to compromise on quality or craftsmanship, shopping for a birdseed feeder at the Happy Gardens Store is highly recommended.
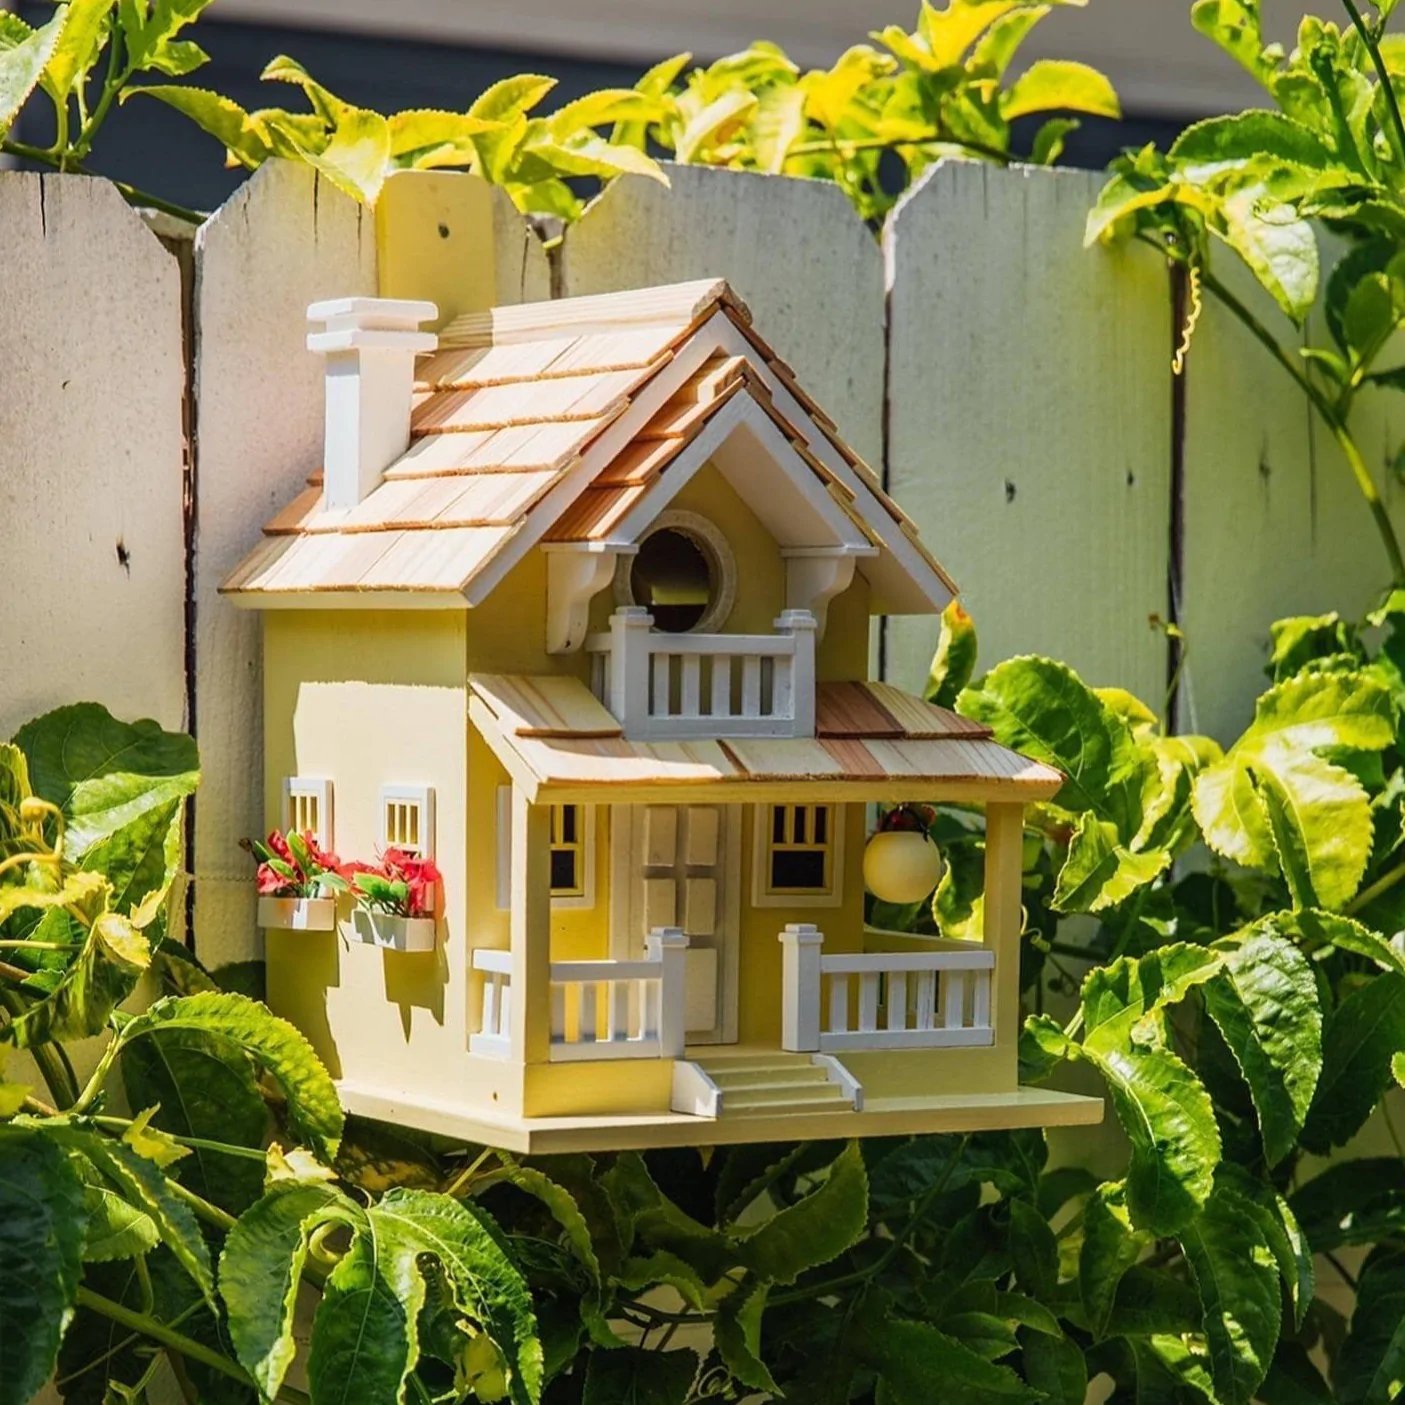
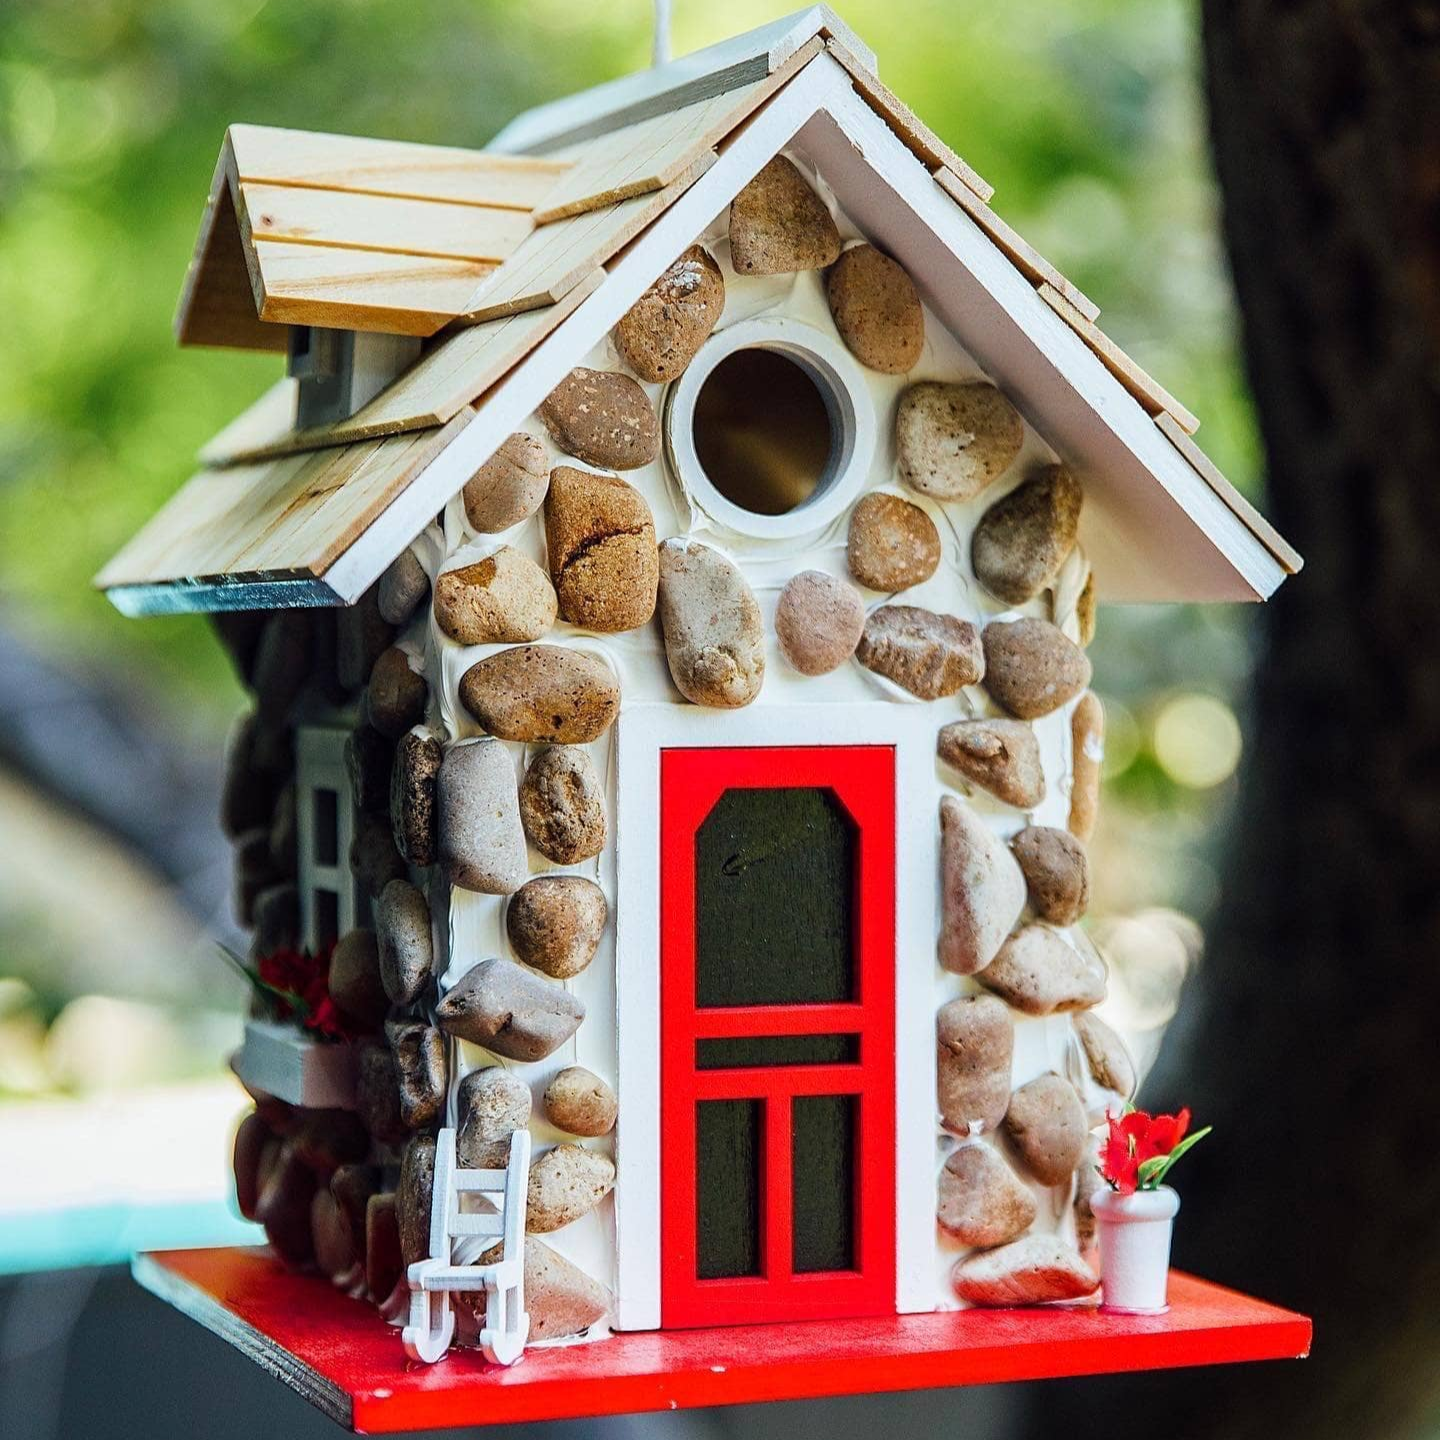
You can search through our bird feeder collection to find something that matches your garden's aesthetic, like Dorothy's Cardinal Bird Feeder or this Seed Saver Domed Bird Feeder. Throughout our store, you'll find that items have been designed by artists and hand-selected by the Happy Gardens team. We're always happy to help spark some creativity and inspiration since making your backyard dreams come true is what we live for.
About Happy Gardens
Take a look at the Happy Gardens online collection if you're looking for thoughtful and unique garden pieces and merchandise, great for all outdoor spaces. Whether you've been endlessly searching for that perfect bird feeder for your own backyard or the garden enthusiast in your life, you'll quickly see that Happy Gardens is the best place to shop. Each product you'll come across on our site has been handcrafted with love with none other than your happiness in mind.
All of our beloved products are top-rated and come from a wide variety of special collections, near and dear to us. As you peruse our collection in search of your favorites, keep an eye out for some of ours. We absolutely adore our unique garden ornaments, artistic birdhouses, eye-catching spinners, and so much more.
Our collection doesn't end at garden pieces. For fun and exciting gifts readily available year-round, we've also got a brand new line of merchandise available. Perfect for any occasion, our Happy Gardens merchandise includes the cutest wine glasses, tote bags, and coffee mugs for you and your loved ones.
Stay up to date on the latest and greatest happenings at Happy Gardens by joining our mailing list. Simply enter your name & email address to look forward to limitless fun along with gardening tips and tricks flooding your newsfeed right away. Follow us on Instagram and Facebook for even more garden inspiration!
So if you're wondering how you can pick the bird feeder that will become a perfect fit for your garden, try asking one of us via chat. After all, here at Happy Gardens, we're happy to help!


