How to String a Wind Chime
Share
Adding a wind chime to your outdoor space is a simple, sweet way to enhance your surroundings. Whether you have a broken chime that needs to repair or wish to make your own chime from scratch, we have all the info you need to string wind chimes all by yourself.
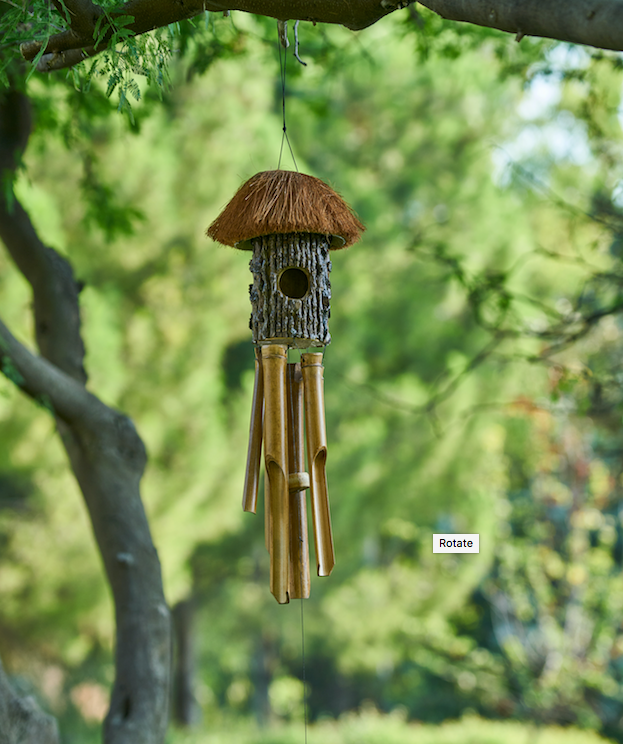
A wind chime is part decoration, part instrument. Created from a mix of hanging tubes or rods and bells, they are carefully constructed to sound as pretty as they look. There are also ways to make them louder. The slightest breeze sets off a wind chime's bells, releasing delicate music that's never over-the-top or a distraction.
In this article, we'll share how to easily restring a wind chime. We'll also review every step of a simple DIY wind chime project, in case you're interested in making wind chimes from scratch. We'll also show you a few ready-to-install chimes, just in case you decide against making your own.

How to restring a wind chime
If you have a broken wind chime, you can always repair the decoration instead of tossing it. After all, time and weather can really take their toll on even the most durable of wind chimes.
Gather what you'll need
To restring the chimes, you'll need a high-quality cord, a ruler and scissors.
Assess the damage
First, you'll want to replace any string that's frayed or otherwise damaged. If you wait too long, the thread could give out, and the chime could fall apart or break. Simply choose a high-quality, weather-resistant string like fishing line or nylon cord.
Pro tip: even if only some of the thread is damaged, we recommend replacing everything for a properly-functioning, well-balanced chime.
Start restringing
Remove the old string, then rethread the tubes or other pieces of the chime in the exact same way, but using new thread.
You'll want to measure exactly what you need beforehand, and then cut your string accordingly.
Use an upholstery needle
Once your string is ready, use an upholstery needle so you can properly weave string through those long tubes. Needle-nose tweezers may also work. Measure as you go to make sure everything will look (and perform) as good as new.
Tie a sturdy knot
When tying knots on your replacement string, you need a sturdy knot that will stand up to the test of time. We actually add a touch of glue to our knots to ensure a strong one that won't break or come undone.
Test your work
You can test how well your wind chimes will function by giving them a soft ring with a tapping fork. This step will help ensure that when you hang your chime, it will ring just like it used to! If things sound a little bit off, you may need to restring one of the chimes again.
Once you've restrung a couple wind chimes, you're probably skilled enough to build a chime all on your own. Below, we've gathered some simple steps to build your own.

1) Gather your materials
The first step to crafting and stringing a chime is collecting everything you need to complete the project. You can find almost everything at local hardware and craft stores, or at your favorite online retailers.
You'll need nylon string, real solid scrap wood and aluminum or other high-quality metal tubing to get started. From your tool chest, you'll need a jig saw, a hack saw, a ruler or tape measurer, a pen or pencil, scissors, sanding paper and a drill. The drill bit you select should be just slightly bigger than the nylon string.
A note on choosing the right string for your chime: we love nylon! It holds up well, even when exposed to the elements.
2) Create your structure
Next, you'll need to create the general structure for your wind chime. Start by measuring and sketching out the different parts you'll need to make: the top mount, and a smaller bottom mount. You can pick any shape you like, although a circle or hexagon works best.
Once you jig saw your pieces out, you can sand and smooth them down.
3) Drill holes for string
Next, you'll use a drill to make holes for string. In the top piece, you'll need a center hole, plus a trio of little holes everywhere you plan to suspend a metal rod or tube. In the smaller piece, you'll only need one central hole for string, if you are only adding one bell.
If you wish to stain and seal your wood, do it now.
4) Cut the metal tubing
Now, it's time to cut aluminum tubing into music-making pieces of your wind chime. These tubes, which are chimes themselves, can be trimmed at slightly different lengths for an organic look. You'll want to use tubes that are about 1 inch in diameter for best results.
Just how long should you cut each tube? Again, variation is key, but your longest piece will probably be around 19 to 21 inches. Each piece can be about one inch shorter than the next.
5) String your wind chime's top
Start stringing your wind chime from the very top: the part that will hang the rest of the chime.
Prepare three pieces of string around 9 inches to a foot long. With one piece of string, tie a knot on one end, then thread it through the top mount you made in step 2. Once threaded, tie another knot on the other end to secure it. Then, do the same for the other two strings.
Ultimately, the three strings should form a triangle held up by a hook.
5) String your wind chime's bottom
Next, you'll use the rest of the holes from the top mount to suspend the hanging chimes.
Tie a knot on one end, then thread the string through the smaller wood piece you carved earlier. Your chime should now have a top and a bottom.
6) Thread the chimes
Next, it's time to string the chimes, longest to shortest. Take one string and thread it through one of the inside holes you made in the top wooden piece. Allowing it drop down, thread the cord through one of the chimes, then thread it back through the top and move onto the next tube. Each tube should naturally dangle, and every tube should be connected to the next by string. See our wind chime faq page.
Do the same for other remaining chimes. Make sure that each one is a bit shorter than the next chime. You may need to cut string or redo your work a little bit to achieve this. When the stringing process is complete, your tubes should have a striking, geometric variation in length that'll give your wind chime a classic look.
Shop Wind Chimes
There are plenty of unique, ready-to-install wind chimes available for sale--including the beautiful wind chimes in our collection.
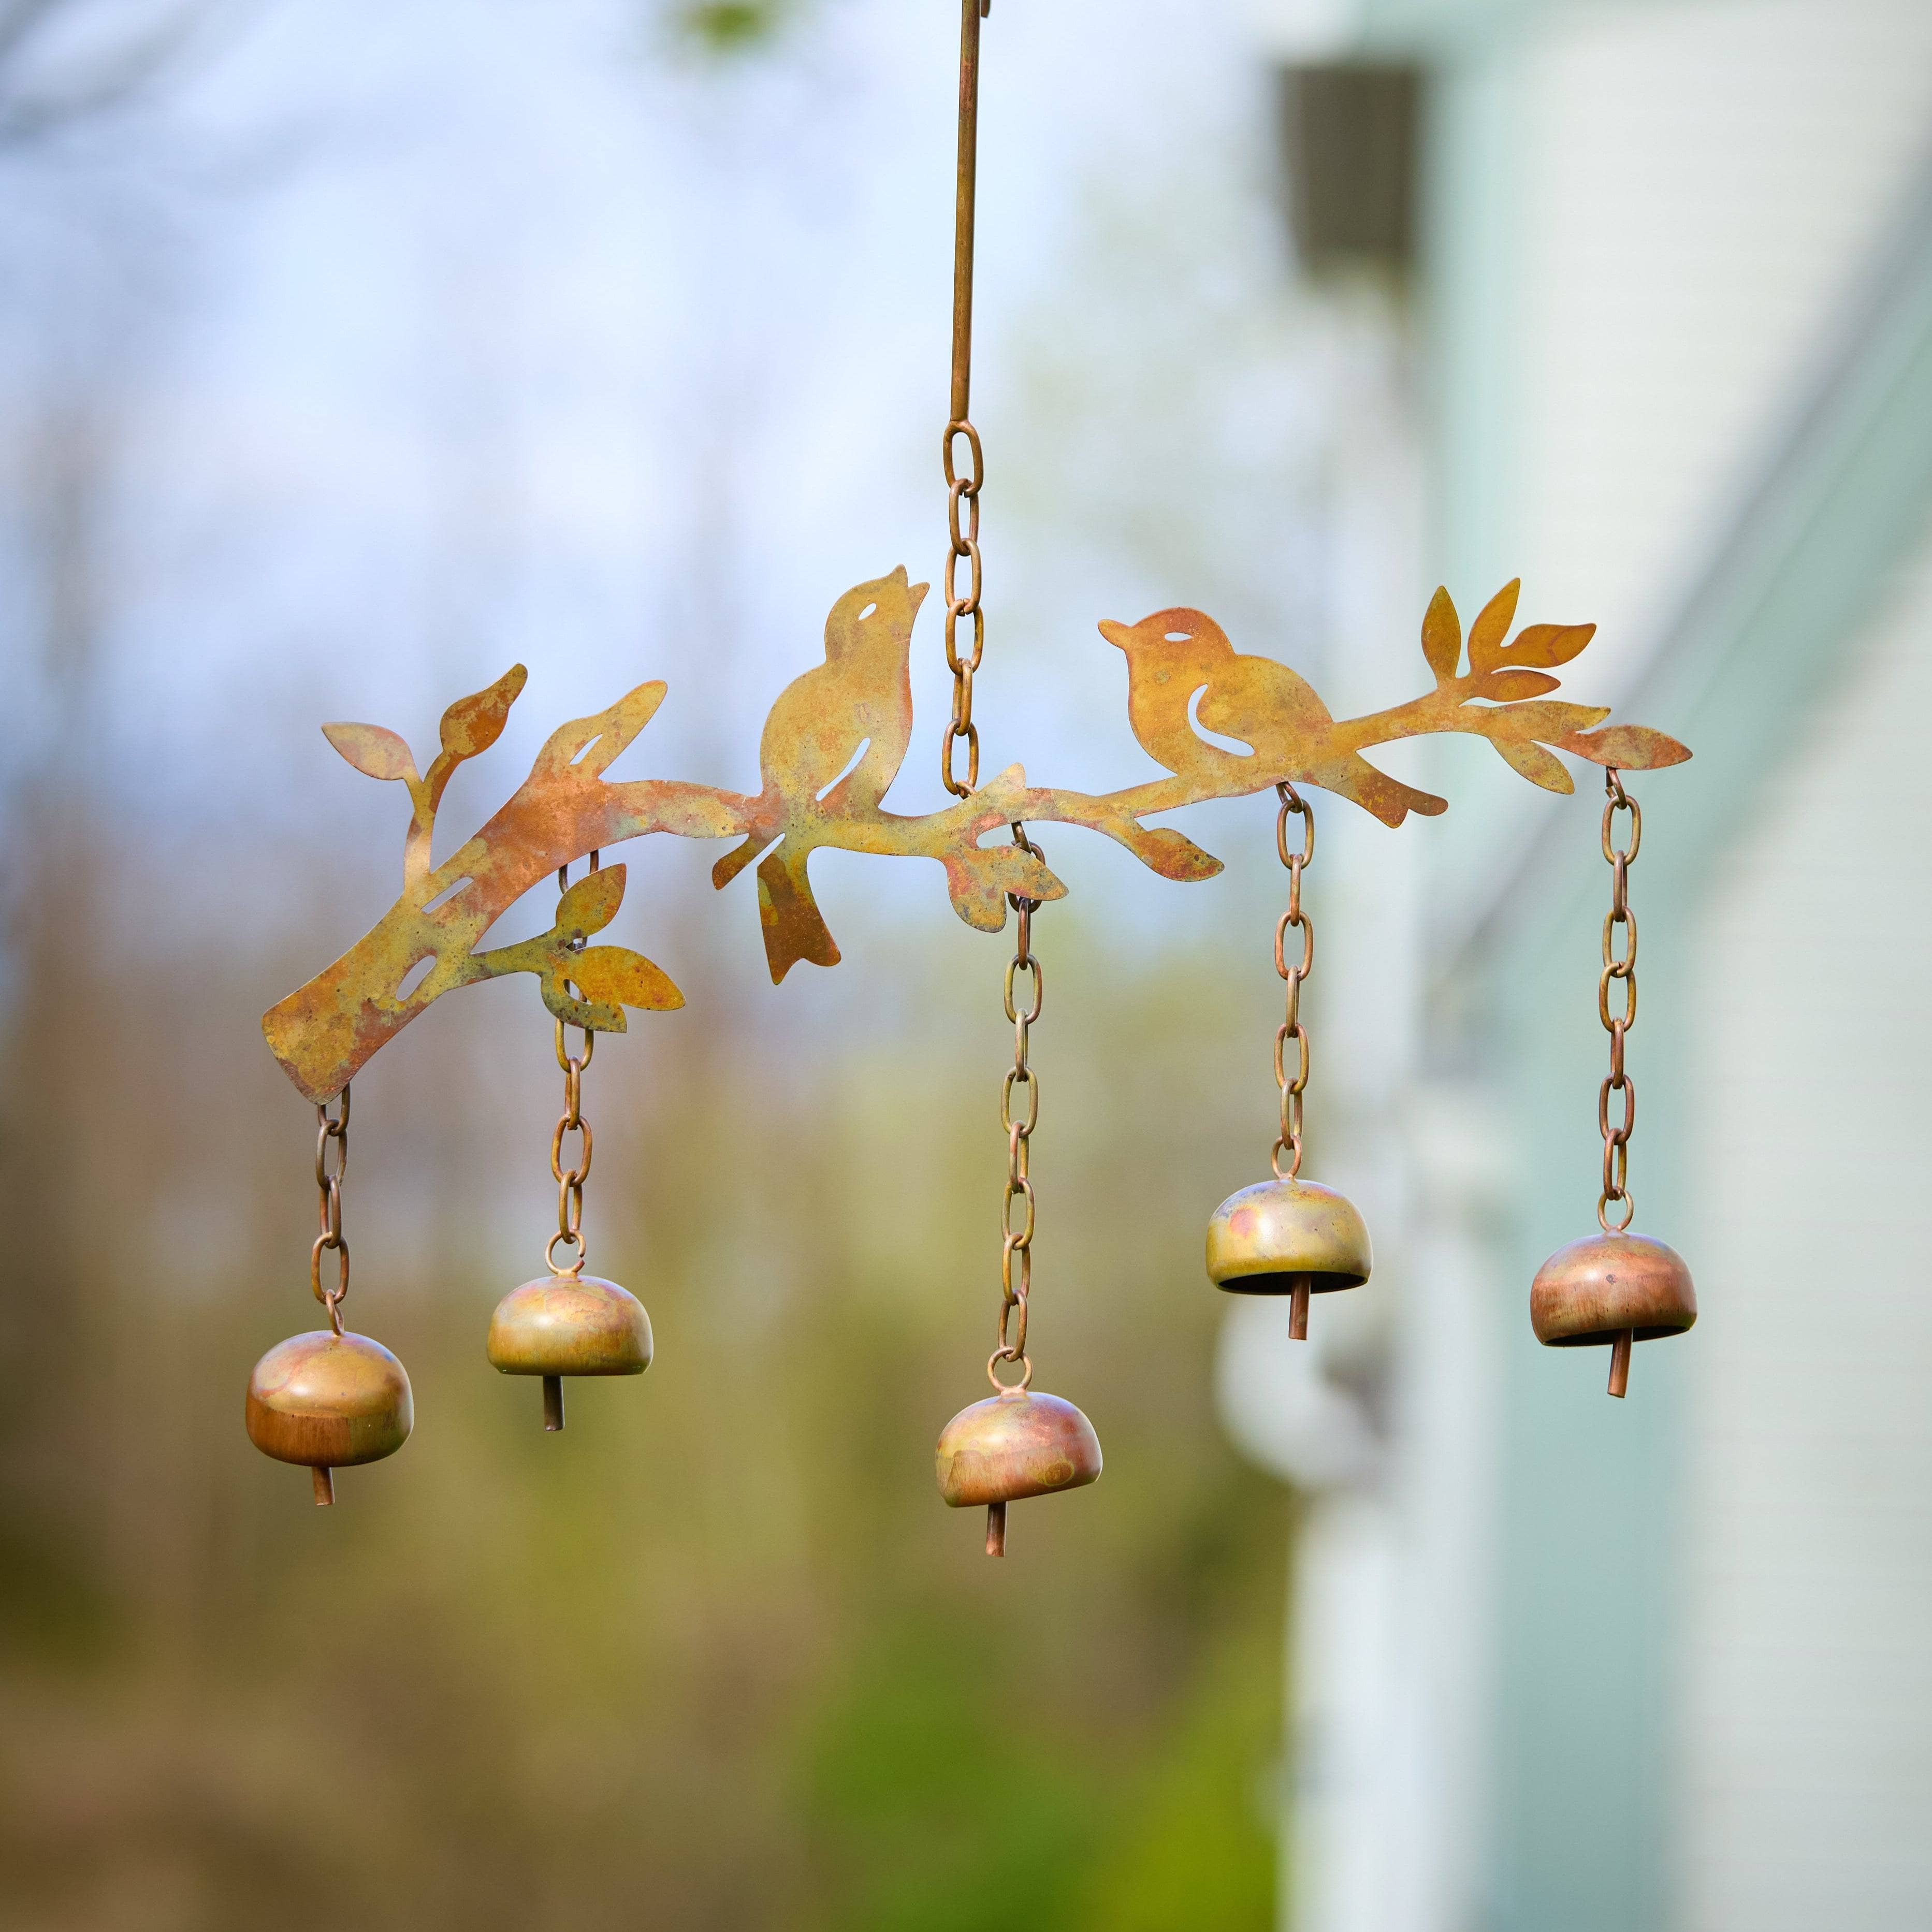
Our favorite right now? Our best-selling birds with bells wind chime!
ABOUT HAPPY GARDENS
Happy Gardens is the proud seller and curator of thoughtful, gorgeous garden decor and merchandise. We've carefully selected every last product in our shop for garden lovers and anyone who appreciates the great outdoors.
Of course, we have dozens of stunning wind chimes and mobiles, plus garden stakes, statues, rain gauges... anything you could want for your home and garden!
All Happy Gardens products come with a friendly one-year, limited-replacement warranty. If you're having a problem, let us know. We'll do everything we can to make it right!
Want to learn more about our newest and coolest products? Join our email list.
We're always here to help via chat if you need help picking out that perfect gift, redecorating your outdoor space or searching for gorgeous wind chimes.

